Trimming is a vital step in the pottery-making process that transforms your thrown pieces into beautifully finished works of art. While it can seem daunting at first, with the right techniques, tools, and a bit of practice, you can achieve crisp lines, smooth surfaces, and elegant foot rings. Whether you’re a beginner or a seasoned potter, these trimming tips and tricks will help elevate your pottery game.
Why Is Trimming Important?
Trimming is more than just refining the bottom of your pottery; it’s about balancing the weight, enhancing the shape, and adding those professional finishing touches. A well-trimmed piece not only looks more polished but also feels better in the hands.
Here are some key reasons why trimming matters:
- Weight Distribution: Trimming helps remove excess clay from the base, ensuring your piece feels balanced and lightweight.
- Aesthetic Appeal: A neatly trimmed foot adds visual interest and a sense of completion.
- Functionality: Proper trimming ensures a level base, preventing wobbling or instability when the piece is in use.
Essential Tools for Trimming
The tools you choose play a huge role in your trimming success. Here’s a quick rundown of essential trimming tools:
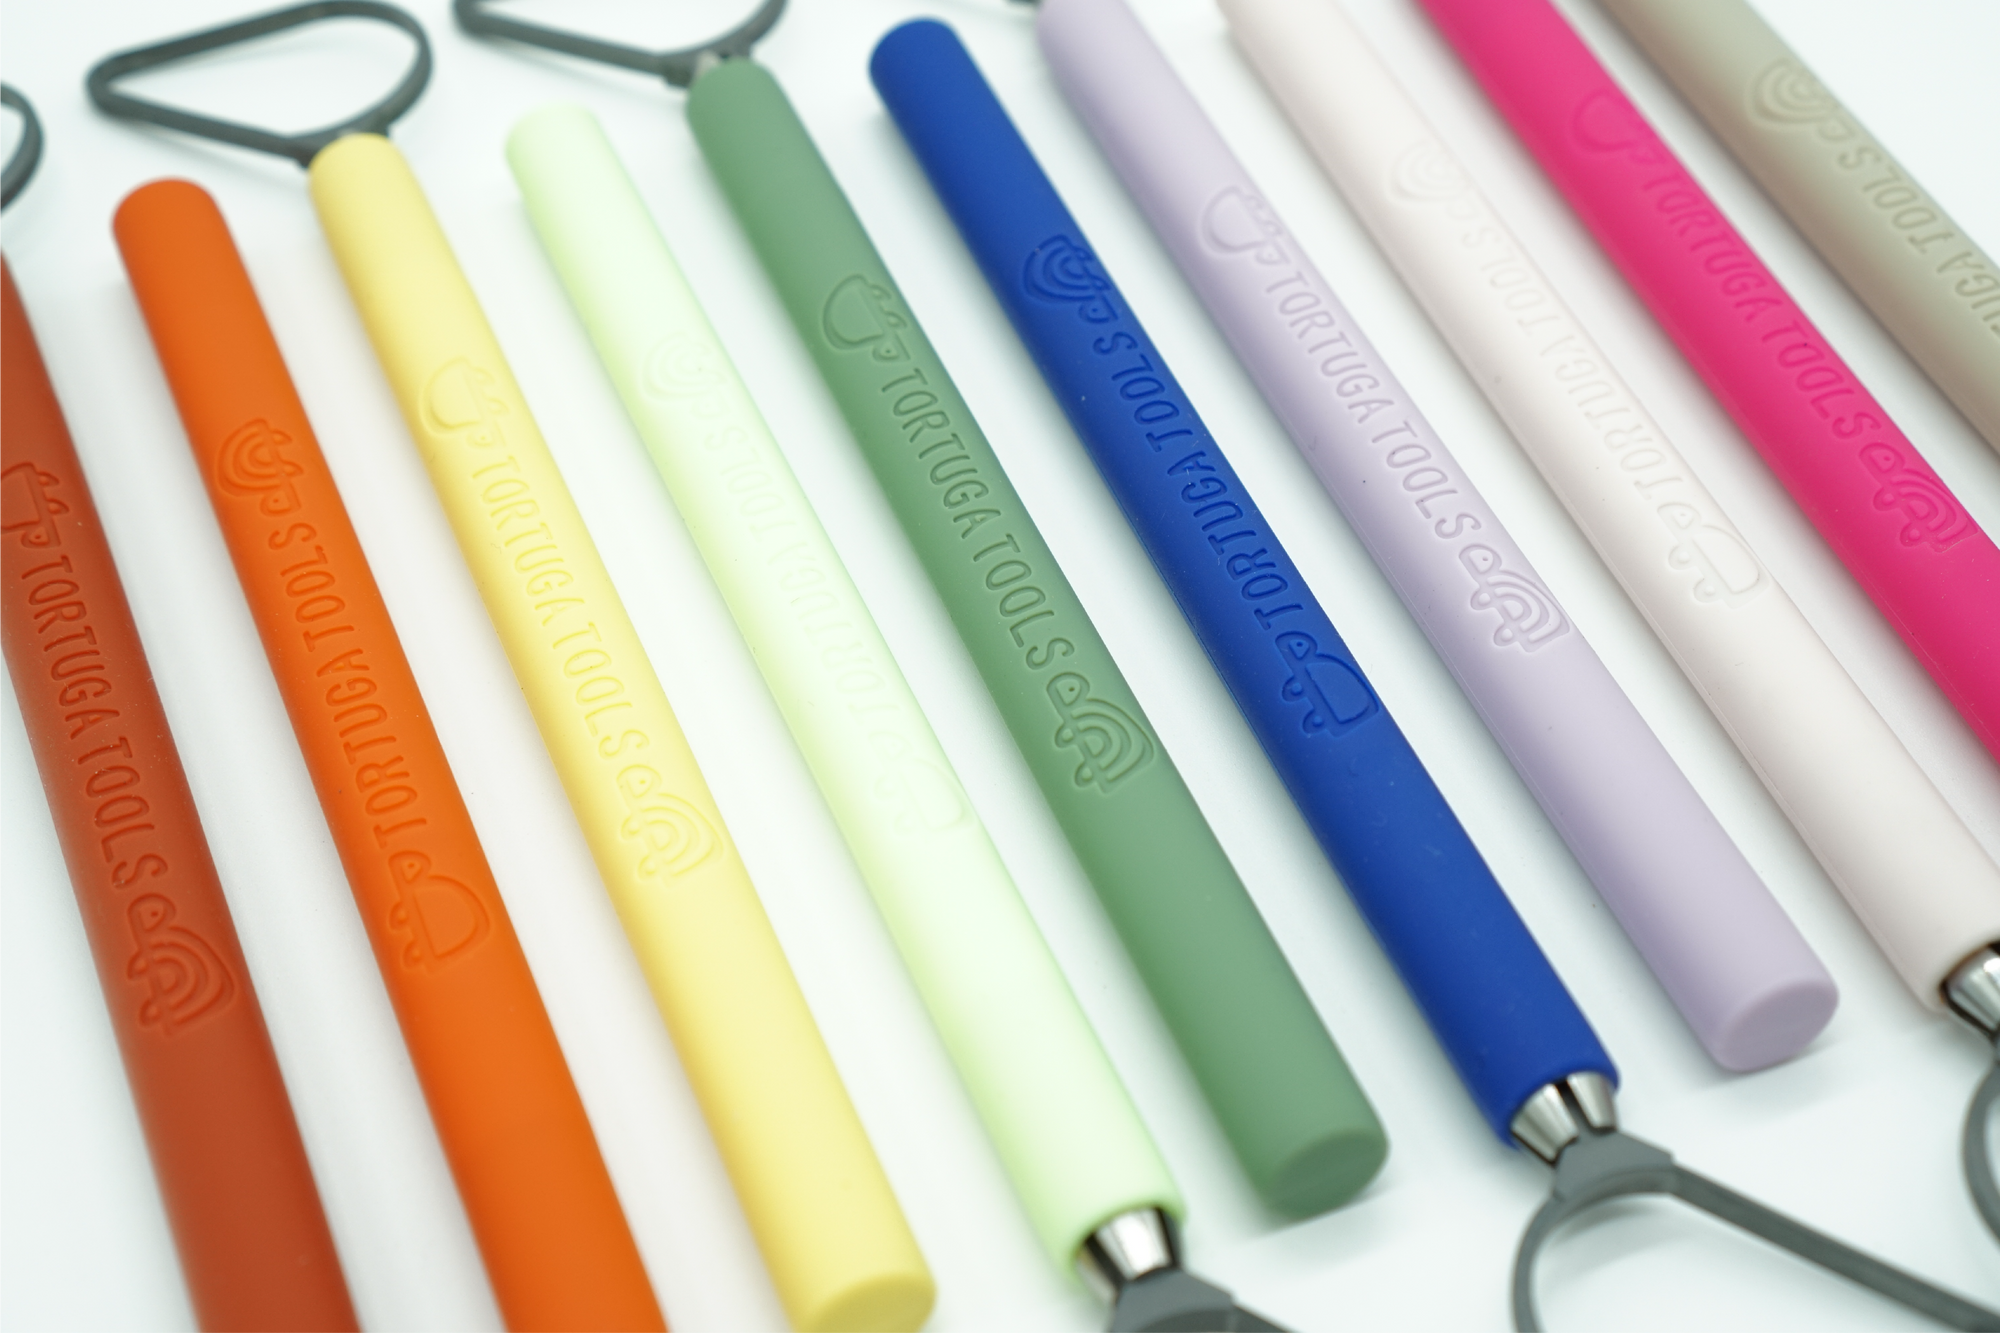
- Trimming Tools: Tungsten carbide tools (like our Tortuga Tools collection) maintain sharp edges longer, allowing for precise cuts even on bone-dry clay.
- Ribs and Scrapers: These help refine the surface and remove slip or excess clay.
- Bat Mat: Use a Bat Mat (like our Tuga Mat) to stabilize your pottery bats, preventing bat jitter and ensuring a smooth trimming experience.
- Calipers: For consistency in measurements, especially when trimming multiples of the same form.
- Loop Tools: Great for creating foot rings or hollowing out bases.
Trimming Tips and Tricks
Here are some expert tips to make your trimming process more efficient and enjoyable:
1. Know the Right Time to Trim
Timing is everything. Ideally, trim your piece when it’s leather-hard. At this stage, the clay is firm enough to hold its shape but still soft enough to trim without cracking. If your piece has dried too much, try lightly misting it with water or wrapping it in a damp towel for a short period.
2. Center Your Piece Properly
Before you begin trimming, ensure your piece is perfectly centered on the wheel. To do this, lightly spin the wheel while pressing your fingers against the side of the pot. Adjust until there’s no wobble. Centering your piece will result in an even and symmetrical trim.
3. Start with Light Pressure
When trimming, always start with a light touch. Gradually increase pressure as you gain confidence in your strokes. This approach helps you avoid accidentally cutting too deep or removing more clay than intended.
4. Use Tungsten Carbide for Bone-Dry Greenware
Got a piece that’s dried out completely? Tungsten carbide tools are your best friend. Their extreme hardness allows you to trim even bone-dry greenware with ease. However, trimming dry clay produces dust, so be sure to work in a well-ventilated area and wear a proper dust mask.
5. Refine the Foot
A well-defined foot not only improves the piece’s appearance but also ensures it sits properly. Use loop tools or a specialized trimming tool to carve out a smooth, even foot. You can experiment with different foot styles—whether it’s recessed, raised, or flat—to add character to your pottery.
6. Check Your Thickness
While trimming, stop periodically to check the thickness of your piece. You can do this by gently tapping the surface with your fingernail or using calipers. Aim for even thickness throughout to prevent cracking during firing.
7. Don’t Forget the Surface
After trimming the foot and base, take a moment to refine the exterior surface. Use a rib or scraper to smooth out any imperfections or tool marks. This step ensures a clean, polished finish.
8. Practice Patience
Trimming requires a steady hand and a keen eye. Take your time, especially when you’re learning. Each piece you trim will teach you something new about the process.
Common Trimming Mistakes and How to Avoid Them
- Over-Trimming: Removing too much clay can weaken the structure of your piece. Always check the thickness as you work.
- Uneven Trimming: This often happens if the piece isn’t centered properly. Double-check your centering before you start.
- Cracking: This can occur if the clay is too dry or if you apply too much pressure. Work on leather-hard clay and use light, controlled strokes.
Why Invest in Premium Trimming Tools?
The right tools can make all the difference. Tungsten carbide trimming tools, for example, offer unparalleled precision and durability. Unlike steel tools, they stay sharp longer and can handle even the toughest trimming tasks, including bone-dry greenware. Plus, our Tortuga Tools system features replaceable tips, so you don’t have to replace the entire tool if a tip breaks—just swap it out and keep going.
Final Thoughts
Trimming is an art in itself, one that allows potters to add finesse and personality to their creations. With the right tools, techniques, and a bit of practice, you’ll master the art of trimming in no time. Whether you’re refining a delicate bowl or adding a unique foot to a sturdy mug, these tips will help you achieve professional results.
Ready to take your trimming to the next level? Check out our Tortuga Tools collection and discover the difference that high-quality tools can make. Happy trimming! 🎨


